How to Map BC Mineral Claims from the Public Registry
To map BC mineral claims, open Exploration Maps, search a company or claimholder to pull their British Columbia tenures from public registry data, add the claims to the map, assign the Claims layer role for standard styling, add context and a title block, then export a PNG or PDF. Always confirm current ownership, status, and boundaries in BC Mineral Titles Online (MTO) before relying on the map.
What you'll need
You can build a BC claims map two ways: search a claimholder directly inside Exploration Maps, or import a tenure file you already have. Either way it helps to have:
- A company or claimholder name (for the in-app claim search), or
- A BC tenure file you exported from MTO or a GIS (GeoJSON, Shapefile, or KML)
- Your company logo (PNG or JPG) for the title block
- The project name and map date
- The official MTO tenure numbers you want to verify
Step 1: Search BC claims by company or claimholder
Open Exploration Maps and choose Add Claims → Search Claims Registry. Select British Columbia, then type a company or claimholder name. The tool returns the matching tenures from public BC registry data so you can map a competitor's ground or your own holdings without manually entering coordinates.
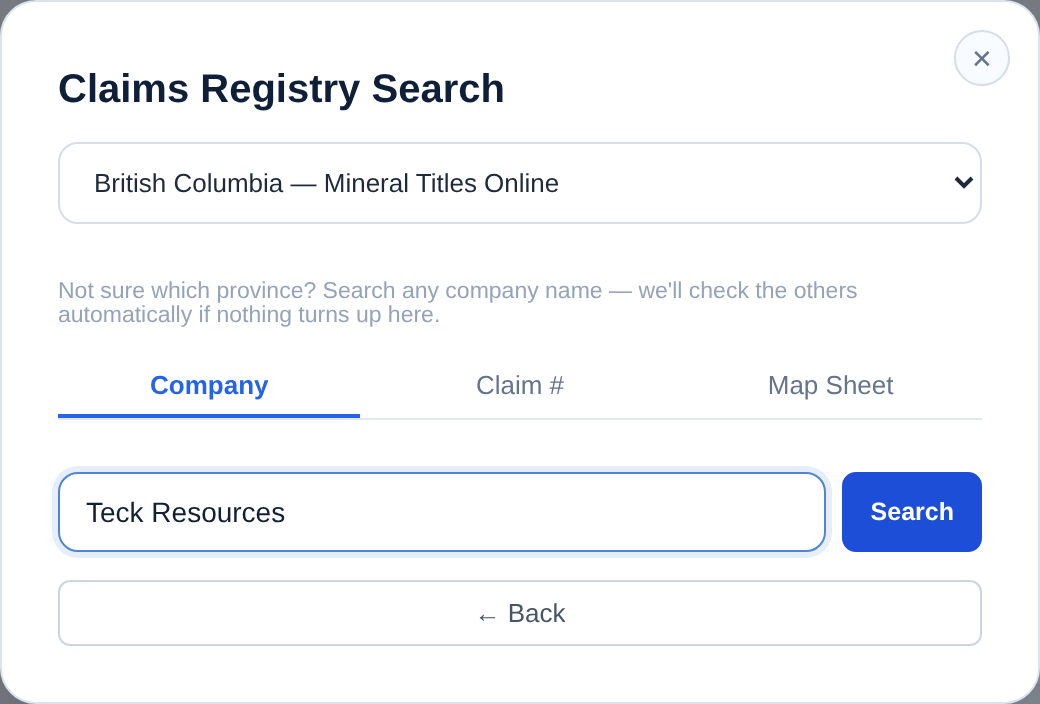
If your search returns no claims
An empty result does not establish that a company holds no ground. The public record may use a subsidiary or a different legal name.
- Try one distinctive word from the registered owner name.
- Search a tenure number from your source document instead.
- Check the jurisdiction and current record in the official registry. Map-sheet lookup is not available in Exploration Maps; browse the map and nearby claims for an area instead.
Step 2: Add the claims to your map
Select the tenures (or tenure groups) you want and click Add to map. They're added as a claims layer and the map fits to their extent automatically. If you instead have a tenure file, use the import button in the Layers section and select your GeoJSON, Shapefile, or KML — the layer is added the same way.
Step 3: Assign the Claims role and style the tenures
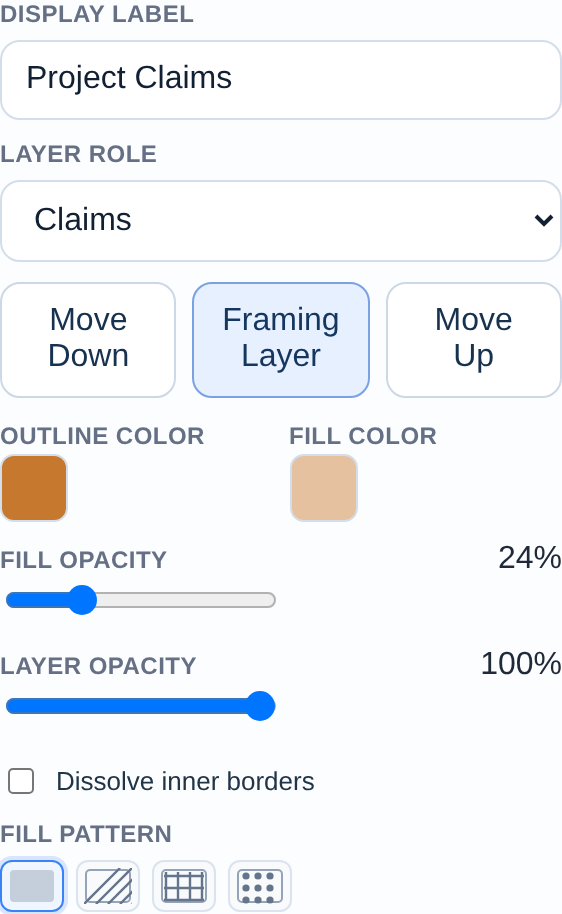
Expand the layer card and choose 'Claims' from the Role dropdown to apply the standard convention: a medium-blue stroke with a light, semi-transparent blue fill. Adjust the stroke and fill colour pickers if you want to distinguish optioned ground, JV claims, or separate blocks — each layer gets its own legend entry, so rename them to something descriptive like 'Optioned Claims' or 'Zone 1 Tenures'.
Step 4: Add context, a title block, and your logo
Enable the Context overlay (roads, towns, water) and Reference Labels in the Design section so viewers can orient the property, and drop the overlay opacity to 40–60% so the claims stay dominant. Click the title on the map to enter the project and company name, set the map date in Design → Text & Metadata, and upload your logo at the bottom of the Layers section.
Step 5: Export a clean BC claims map
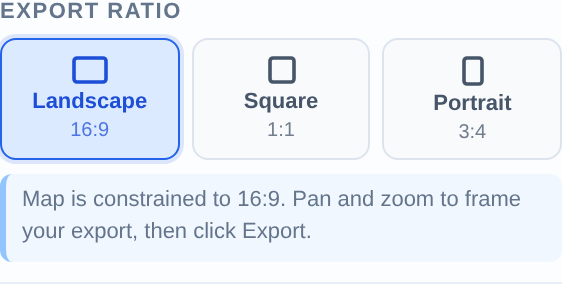
Pick an export ratio — Landscape 16:9 for slides and news releases, Letter Portrait for reports — frame the claims within the bounds, then export PNG for presentations or PDF for print. Free PNG exports retain a small Exploration Maps credit. Pro removes that credit for US$29/month or US$290/year.
Example: mapping a competitor's Golden Triangle ground
Say you want a one-slide map of a peer's claims near the Golden Triangle for a corporate update. Search their company name, select British Columbia, add their tenure group, assign the Claims role, switch to the Satellite basemap to show the terrain, add a title block with your logo and the date, then export Landscape 16:9. Total time is a few minutes versus an afternoon of downloading shapefiles and styling them in a desktop GIS.
Verify everything in Mineral Titles Online
Exploration Maps is a visualization and workflow tool, not the official registry. Before you publish or rely on a BC claims map, confirm the details directly in MTO.
If you want to keep watching those good-to-dates after the map is built, Tenure Monitor saves a claim portfolio and emails you before each deadline. It still points you back to MTO — it reads the public dataset, it is not the registry.
Where the claim data comes from
What the app can and can't verify
Cannot: confirm legal ownership, good-standing, work-requirement compliance, or that boundaries are survey-accurate. Treat the map as a visualization, and confirm specifics in MTO.
Related guides
Next, see the broader how to make a mining claims map guide, compare workflows in Ontario, learn to import a GeoJSON or Shapefile, and when you're done, lay out and export the figure. You can also start straight from the BC mineral claims map tool page. For worked examples, browse the BC company claim maps.